Projects
GSCE Guide
Introduction GCSE Guide is a project I started during my Y12 at Stephen Perse. It is a student-to-student 75-page resource with advice for preparing for and taking the GCSE exams. The content is based on a year group-wide survey of SPF students made shortly after the GCSE 2025 season, asking for personal reflection and tips. The Guide touches on how to revise effectively; the sections include non-trivial strategies tested by our students and AI-powered techniques; how to plan your revision; what resources to use for different subjects; how to prepare for Mock exams; how to maintain good mental health; and finally, subject-specific advice covering 15 subjects. Motivation GCSE exams have been a challenge, but I learned a lot from it. Not just content-wise, but knowledge-wise about my learning habits, revision techniques I found effective, and attitudes and mindsets I used to keep revision upbeat. I realised that 150 students in my year group have been doing this kind of learning all along in parallel – but rarely sharing with each other. What if we united this knowledge? We would’ve amplified our learning by a factor of 150! Of course, we cannot take GCSEs twice, but I knew who would find it useful: the new cohort of Y11s, who will go on the same journey as us. I wanted to help other students and prevent them from struggling as much as we did! Distinctive features 1. Student voice throughout, which aims to show, by example, that mastering GCSE exams is possible. “From us to you” became our signature position which was well received by younger students! 2. Board-specific subject advice from high-achieving students. People who have sat the exams share the hidden pitfalls which teachers might overlook. Recommendations given have been internalised by students, which is why they can now explain their importance from a test-taker perspective. 3. Wide variety of techniques that go beyond classical active-recall or spaced repetition. The survey allowed us to gather diverse ideas, which can suit different types of minds and levels of learners. Pipeline 1. Year-group survey using a Google Form; this included questions about resources students used, problems they had, things they did to support mental health, and some space for personal reflection. In total, we received about 500 pieces of advice. 2. Processing the responses; all responses were read and separated into their respective section. Ideas were arranged into thematic blocks within sections, e.g. ‘how to use past papers?’. Recurring ideas were identified. We ensured a balance of popular responses — helpful for the majority of respondents — and unique perspectives, which might be just right for some learners. For resources, we plotted a histogram showing the most popular websites. 3. Gathering a team; I organised a team of 4 Y12 students to write the guide, delegating the sections, setting deadlines, and keeping accountability. One roadblock was that some subjects have changed exam boards, so we had to communicate with teachers more to ensure our advice is up-to-date. To improve subject-specific advice, especially for subjects we ourselves didn’t take for GCSEs we asked for reviews and contributions from students who take that subject for A-level. 4. Heads and teacher approvals; we communicated with subject teachers, counsellors, the head of academics and pastoral health, obtained 20+ approvals for the guide. 5. Assembly launch; we hosted a year-wide assembly for Y11s presenting the Guide and its contents, and encouraging students to reach out to us for any help they need. The project was completed in 4 months: independent work (survey in June, first 3 sections written in August) and team work (September - November); the project involved the help of more than 50 people. Lessons learned 1. Parallelise early outreach: identify all people you need to contact and send the emails immediately. 2. Prioritise in-person meetings: offer to meet up with teachers and heads to go through the guide or discuss any details. It is often easier for both parties to communicate in person. 3. Always remember the vision: look at what you’re creating from the perspective of people who will use it. I wanted to help future students avoid the struggles and mistakes I encountered, creating a resource I wish I had when I was doing my GCSEs! 4. Always find teammates: it’s super charging and inspirational to work with people pursuing the same goal, and of course, makes the whole process more efficient.
The first presentation of the NOVA robot
12th birthday of Raspberry Pi
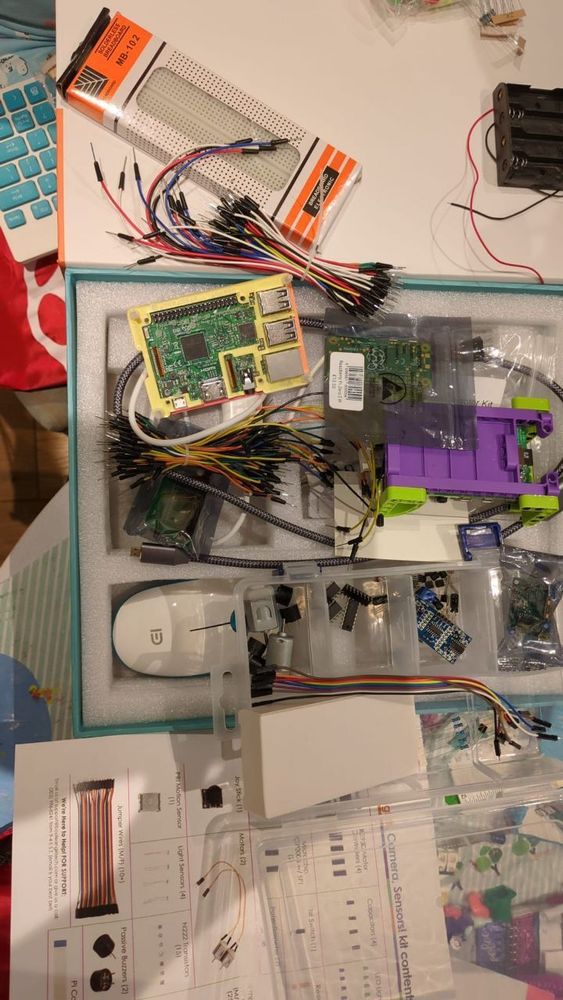
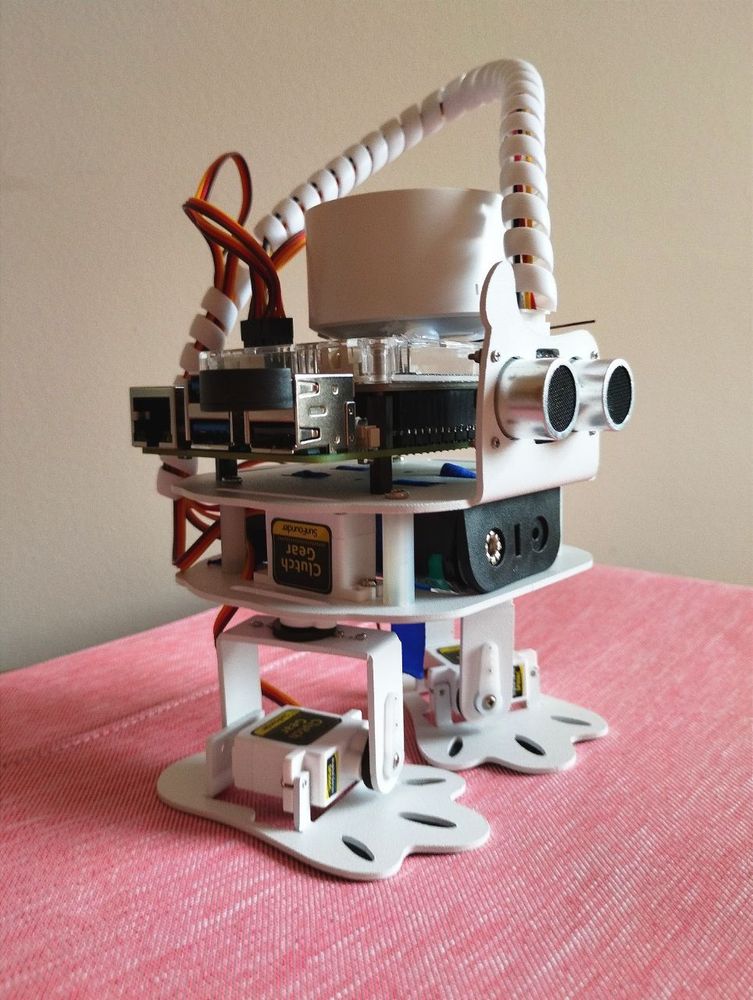
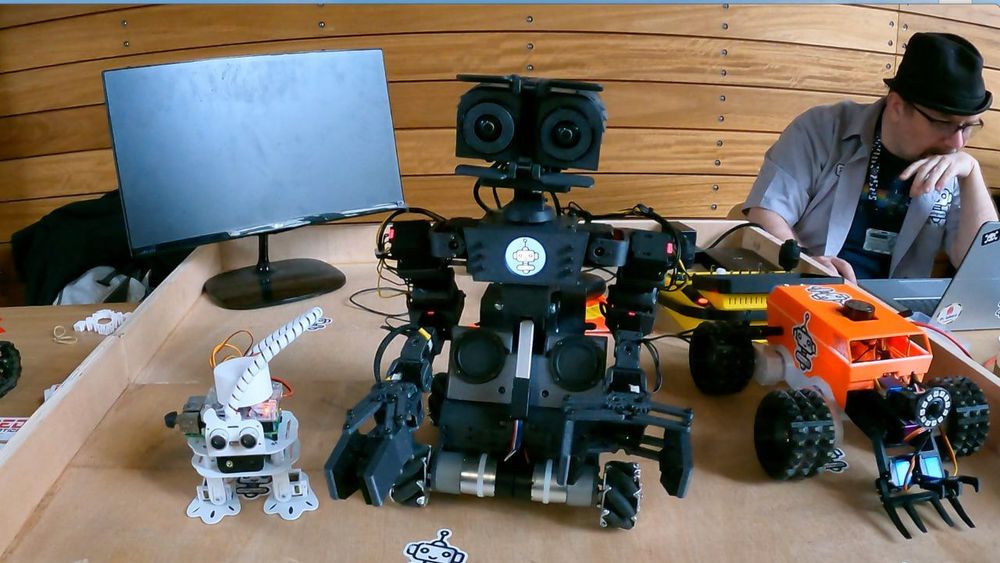
On the 2nd of March, 2024, I was invited to the celebration of Raspberry Pi's 12th anniversary. Many programmers and Pi lovers presented their amazing projects — I also presented mine! Nova is my small AI robot based on Raspberry Pi 5 and ChatGPT! Previously, it was just a dancing robot from a kit, however I implemented user communication by integrating ChatGPT and AssemblyAI (speech-to-text) APIs. Now, I can talk with Nova (almost) like with a person! I can also give her voice commands to start dancing. The next iteration is adding a camera and integrating face recognition. This event was a great opportunity to get an experience of public speaking, as I presented Nova to an audience and visitors. Moreover, it was an incredible occasion to meet new people!
Read more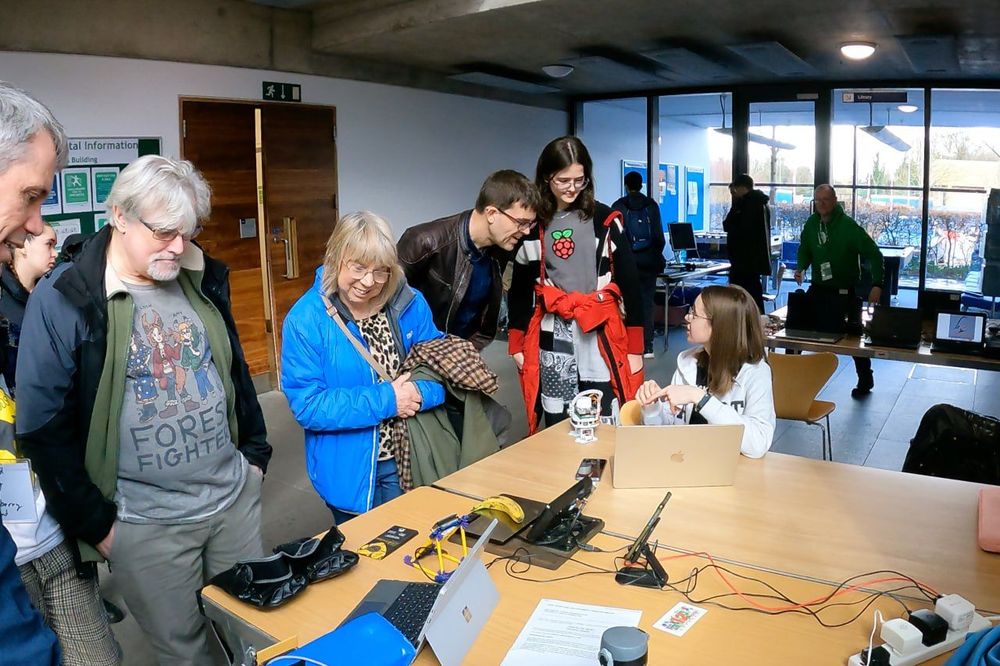
An interesting meeting
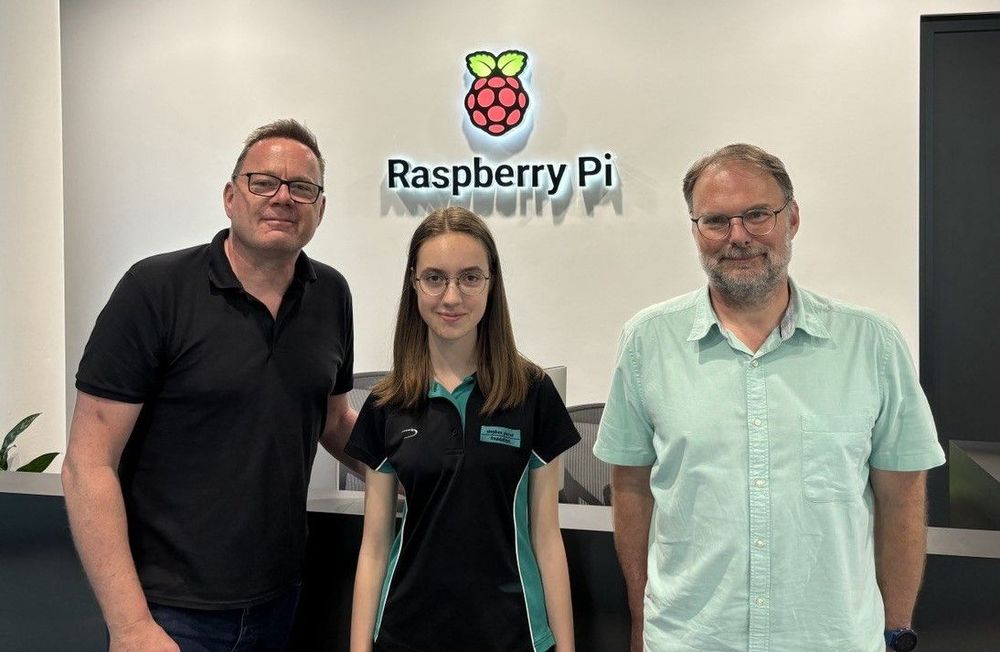
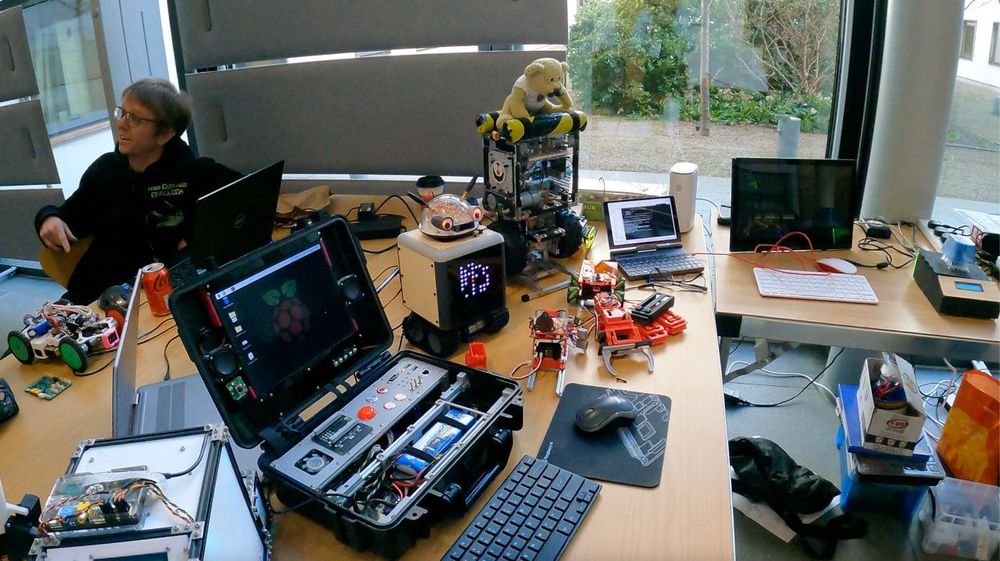
Raspberry Pi office in Cambridge Science Park
I was invited to visit the Raspberry Pi office in Cambridge Science Park on July 2, 2024. I met with Simon Martin and Toby Roberts, who showed me their office, where engineers test future software and hardware releases, as well as the Maker’s Lab (with many 3d printers and laser cutters) and an upcoming Raspberry Pi AI Camera. And I got a chance to show them my Raspberry Pi AI robot project! It was a pleasure to meet and chat with them, and see what it’s like to work at the Raspberry Pi!